LumaFusion is undoubtedly the most powerful iOS video editing app among all available editing tools. It can be called a professional app because of its enough important features. When editing videos via it, you may want to add suitable music to comply with the nature of videos. Spotify, as a huge streaming service, will be the first platform for you to choose music. But the issue is that you can’t add Spotify music to LumaFusion directly for playing because of the encryption technology, which bothers you a lot. However, it’s not so hard as you think and you can finally make it by learning the guide in this post. Now, let’s check it out.
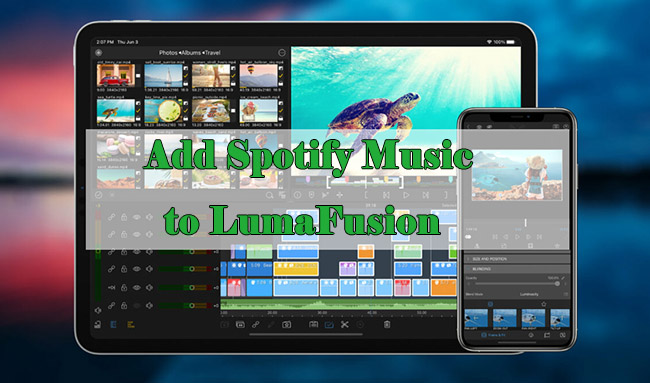
Part 1. LumaFusion Review You Should Know
If you want to make use of LumaFusion well, you should have some basic knowledge about it. Surely, for those who have used LumaFusion for a long time, there is no need to take a close look here.
Editing: multitrack for video, audio, and graphic to cut, copy, add markers, select transitions, etc.
Effects: green screen, chroma keys, blurs, styles and color, distort, color correction, keyframes, Speed FX
Audio: add 3rd-party audio plugins, duck music, isolate tracks, fine-tune, keyframe audio levels, etc.
Project manager: support different aspect ratios (16:9, 9:16, 1:1, and more), frame rates from 18fps to 240fps
Media library: import media from Photos, USB-C drives, Frame.io, cloud storage, and SMB network drives
System requirements: iPhone/iPad/iPod running iOS 15.4 or later; Mac running macOS 12.3 or later
Price: $29.99 with in-app purchases from $9.99 to $69.99
- Great multitrack video editing app for all iOS devices
- Support multiple formats of video
- Powerful adjustable image stabilizer
- Unobstructed and customizable interface
Advantages:
- Do not support the Android version
- Editing features, such as motion tracking and missing
- Difficult to handle large projects and multiple tasks
Disadvantages:
Part 2. Import Spotify Music to LumaFusion – Tool Required
To help you import Spotify music to LumaFusion without troubles, you need a third-party tool like AudBite Music Converter to decrypt encryption technology set by Spotify, thus transferring to normal formats that you frequently use such as AAC, M4A, MP3, FLAC, M4B, and WAV. It can also help you to convert podcasts, playlists, albums, and tracks from Spotify to your local devices for playing without premium. When you add Spotify music to LumaFusion, you can clearly recognize each song as metadata information is maintained even though being converted. And you have no need to wait for a long time as it supports 5x conversion speed. In a word, when you embrace this powerful tool, it will be a piece of cake for you to use music as BGM for editing.
Main Features of AudBite Spotify Music Converter
- Download ad-free songs from Spotify without premium easily
- Convert Spotify music to MP3, AAC, WAV, FLAC, M4A, M4B
- Save Spotify music up to 320kpbs and with ID3 tags retained
- Support downloading Spotify music in batch at 5× faster speed
Part 3. How to Add Spotify Music to LumaFusion without Premium
Since you have downloaded AudBite Music Converter. Now, you can open it on your computer first. Then you can follow the below steps to get Spotify music without premium.
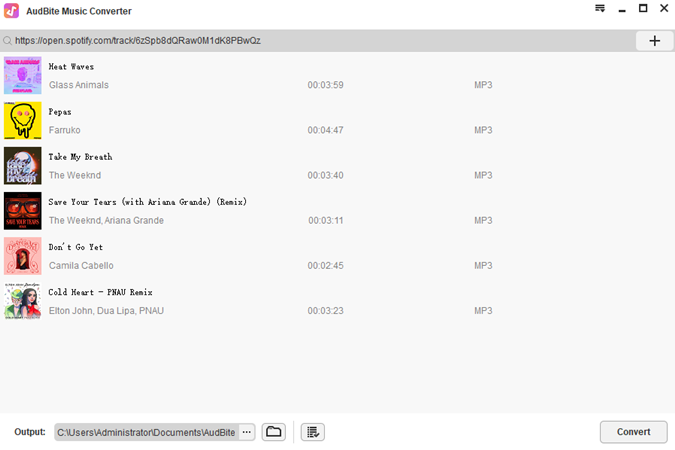
Step 1: Drag Spotify Music to AudBite Music Converter
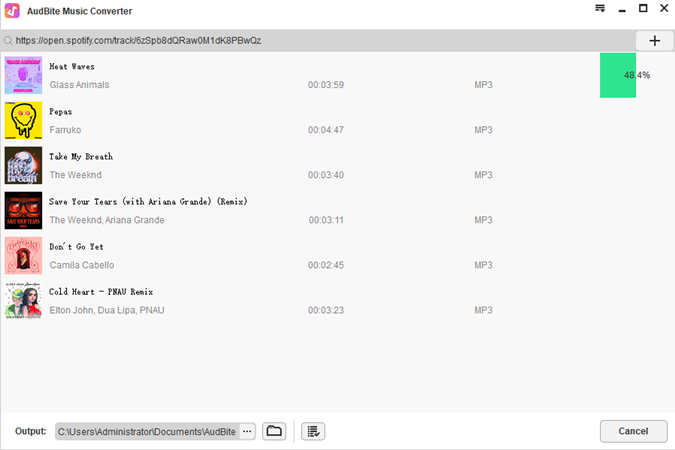
Go to the Spotify app on your computer. Drag Spotify Music to AudBite Music Converter to download. Or copy URLs and then paste them to AudBite’s search bar. Parse and load chosen Spotify tracks to the conversion area by hitting the “+” icon.
Step 2: Alter Spotify Music Output Format for LumaFusion
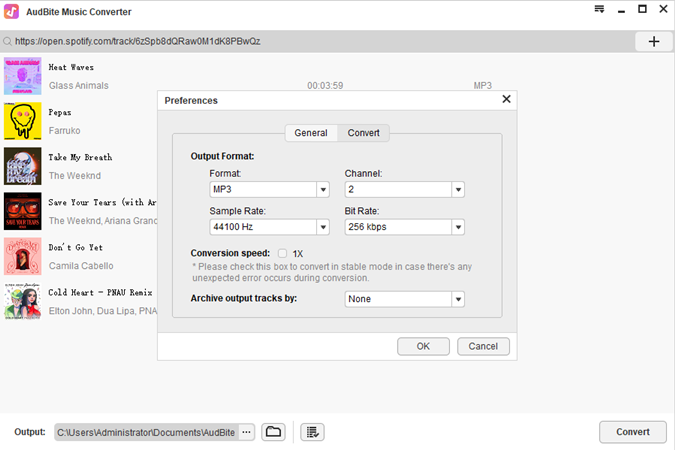
LumaFusion can support audio formats like MP3, AAC, M4A, WAV, and more. So, you can go to Menu at the top right of AudBite program, choose Preferences, and click on the Convert tab. Then you can alter the output format to AAC or something else you want. When all is set up, click OK.
Step 3: Download Music from Spotify for LumaFusion
Run the Spotify conversion to start the conversion process by clicking Convert. It won’t take a long time to convert the Spotify music to desired output format as AudBite supports 5x conversion speed. Then you can check the Spotify music files on your computer.
Step 4: Add Spotify Music to LumaFusion
When you download Spotify music locally and the music files are supported by LumaFusion, it is time for you to add them to LumaFusion to make your videos more attractive and interesting. As LumaFusion only supports iOS systems, you need to transfer Spotify music files to your iOS devices via a USB cable. Then you can follow the below simple guide to complete the process.
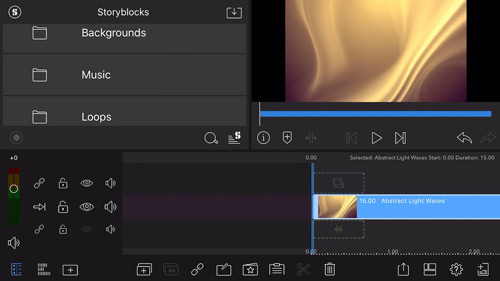
1) Launch the LumaFusion app on your iOS device like iPhone or iPad.
2) Upload a video that you will edit by clicking “+” to create your project.
3) On the pop-up window, choose Videos and click it to upload the target video.
4) When uploading your video successfully, click the Import Media icon to add Spotify to LumaFusion.
5) Add the Spotify files on your device that you wish to upload. Then you can stream Spotify on LumaFusion when editing the video.
Part 4. Conclusion
As you can see, you can’t add Spotify music to LumaFusion directly because there is no Spotify integration to this video editing app. But you can get a good solution here for your personal video creation use. With the assistance of the AudBite Music Converter, it’s a simple thing to remove DRM restrictions. When downloading Spotify music locally and importing them to your iPhone or iPad, you are free to add them to LumaFusion without burdens.


